Cake Smash Tips for Parents
Ahh!! You did it! You’ve officially survived the first year as parents. Time to celebrate with a cake smash session!
Cake smashes are not something most people have much experience with, outside their own child’s session or birthday, so it can be hard to plan for. How do you prepare your baby? What do you need to have on hand? Is there a specific type of cake? What if my baby has allergies to ingredients in cake?
I’ve put together a list of cake smash tips and tricks for parents to make this session go as smoothly as possible! Anyone who has a one year old knows the unexpected can (and will!) happen, but it doesn’t hurt to be prepared.
Cake Smash Tips For Parents
1) What is a cake smash?
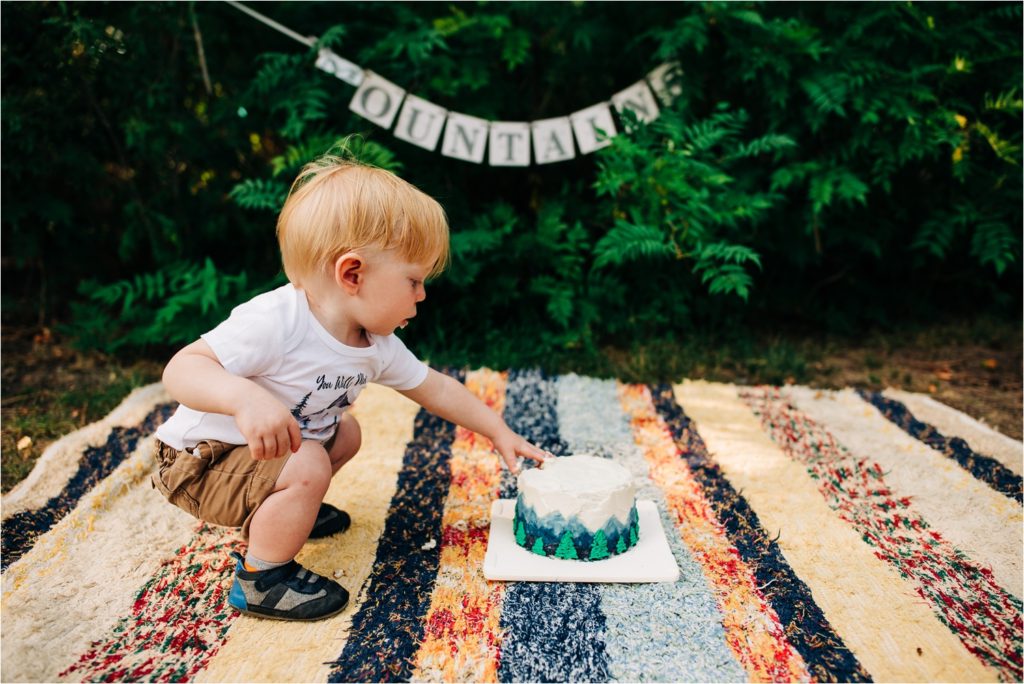
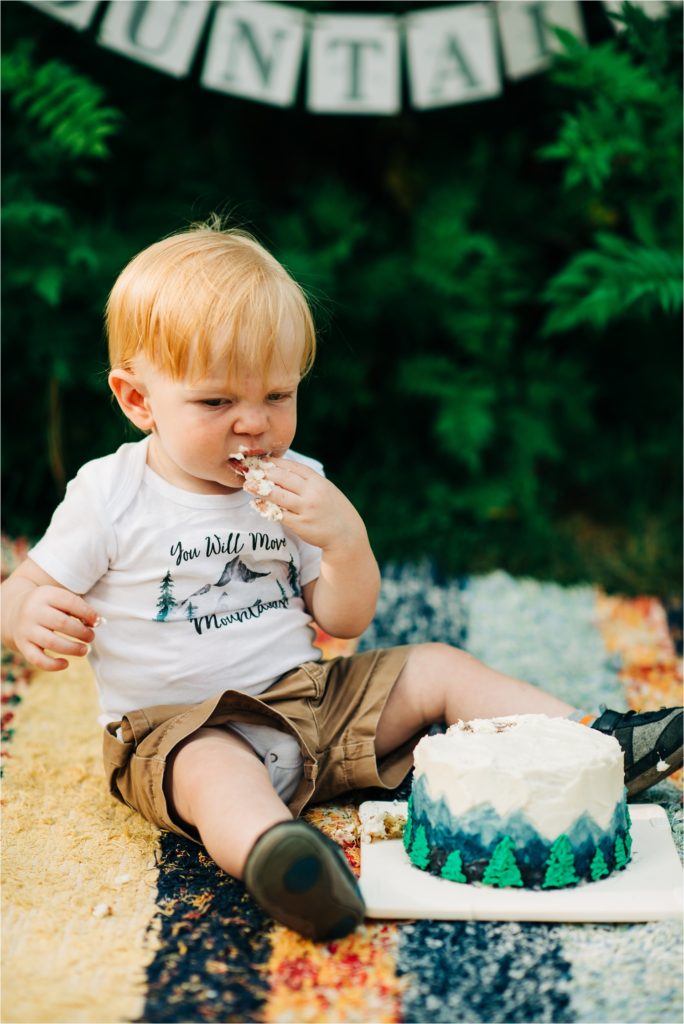
A cake smash session is a photography session where a one year old gets to do their best to demolish a cake, all while looking adorable and messy!
How old should a baby be for a cake smash?
Cake smash sessions typically take place between 10.5 months and 14 months, as a way to celebrate not only your baby’s first birthday, but the fact that you made it through the first year of raising a person! If you’re planning to use these photos for their first birthday or for their invites, you’ll want to schedule their session for 10-11 months. But if you’re planning on using these for documentation of what they looked like at one, feel free to schedule whenever it’s convenient!
Can we do a cake smash session at home?
Absolutely! I do not have a studio, so all of my cake smash sessions take place at client’s homes or in a public park. Between the cake and all the (potential) decorations, cake smashes can be a bit overwhelming for one year olds, so it can be nice to photograph these in a familiar location.
Depending on the layout of your home and yard, as well as time of year, these sessions can be indoor or outdoor.
What time of day is best for a cake smash?
The time of day when your baby is happiest! For a lot of one year olds, this could mean scheduling a cake smash session for 9 am. Avoid waiting until after a lunch or dinner – while I know that it’s bad form to have post-breakfast cake, babies and toddlers are not always at their best when it’s time for bed or afternoon nap!
What does a cake smash session include?
Cake smash sessions are only included in my Full Session packages. I’ve found that even a “quick” cake smash will add 30-45 minutes on to a session!
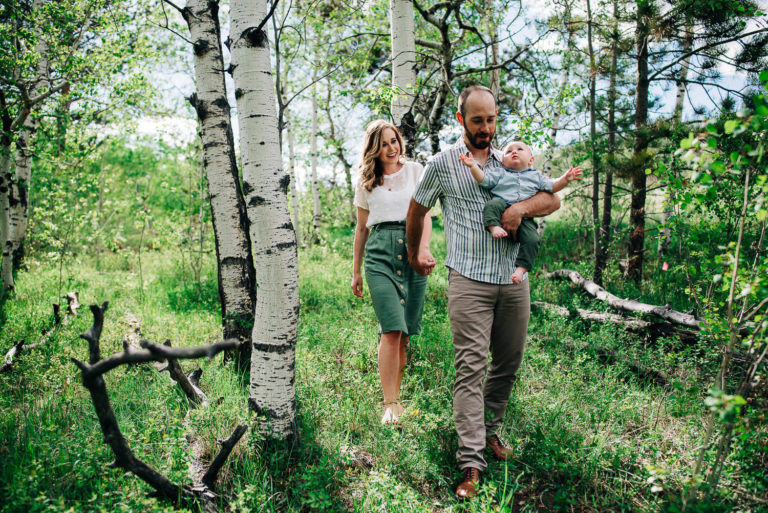
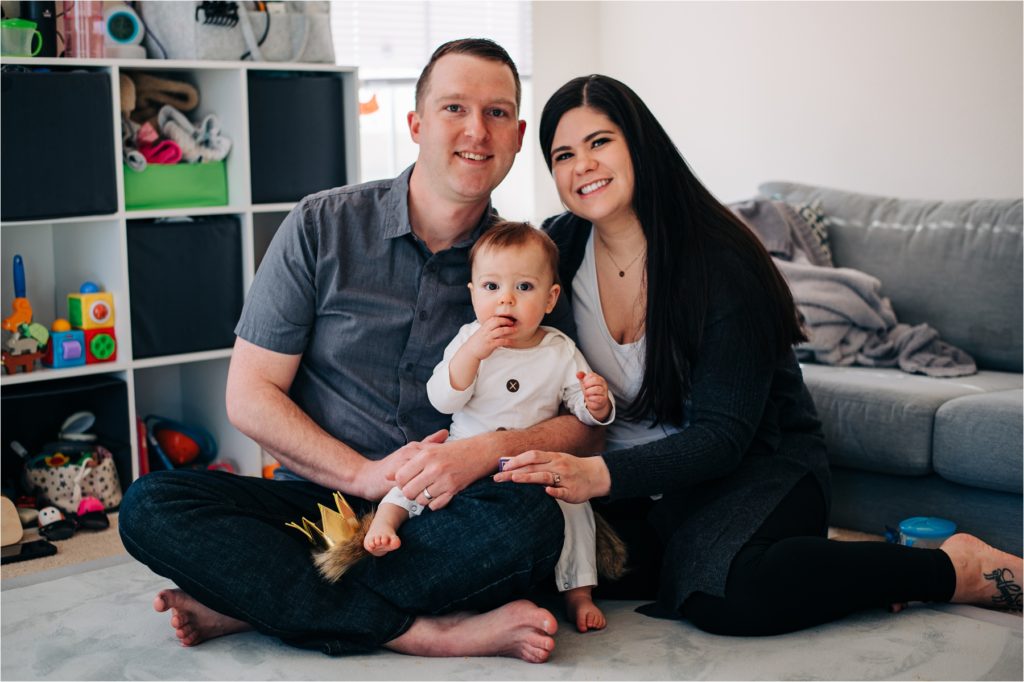
Parents and siblings are included in the family portion of the session!
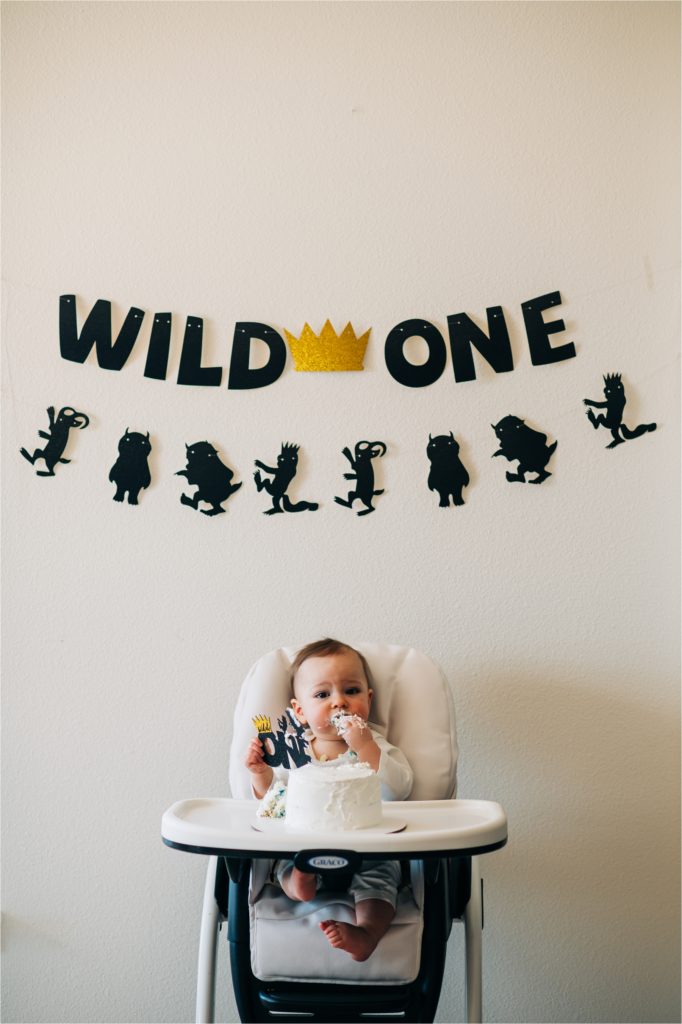
2) How do we decide on a theme/color/decor for our cake smash session?
Cake smash sessions are the only sessions where I am willing to include props, decor and backdrops in photos. Due to different styles and themes for each session, I do not bring or include any props in your session, so you will need to supply these yourself.
Not sure where to start with choosing a color or theme for your photos?
Coordinate with their outfit.
If you have an outfit that you’d like to use for your session, start there! Is it a particular color or style? Does it have a character that they love on it?
It’s okay if you don’t have the outfit first though – most of my clients choose the outfit after they’ve picked a theme/style for their session.
Coordinate with first birthday party invites or theme.
A lot of my cake smash clients use these photos for first birthday invites (both printed and virtual). If you have a theme for their party, start there!
Consider books/colors/character that you or your baby love.
Is there a particular book that you read at night? Is there a character that your baby (or you!) just love? Did you decorate their nursery with a particular theme or color?
Scroll to the bottom of this post for links to some of my favorite simple cake smash decor ideas!
3) How do we prepare a baby for a cake smash?
As I mentioned above, cake smashes can be a bit overwhelming for a one year old! New food, decorations, excited parents…it can be a lot for a little one to take in!
Consider your baby’s sensory needs.
There is a huge range of sensory preferences when it comes to one year olds. I’ve watched babies get upset with sticky hands. I’ve seen them spit out cake and push it away. Others will dive right in, ready to tear and throw that cake with abandon!
If you have a child who prefers to not be sticky, consider putting fruit on top of the cake. They may not rip the cake apart, but we’ll get adorable photos of them carefully choosing their favorite strawberry from the pile!
Be patient and don’t be surprised when your baby suddenly rejects the cake and wants nothing to do with what is happening. We’ll give them some time and will find a way for them to enjoy the experience!
Practice at home before your session.
I suggest everyone practice ahead of time. If you can, get a cupcake in the same type of cake and frosting, both to check for potential sensory issues, as well as allergies.
Does your baby have any allergies?
While cow’s milk, soy milk, and egg are the most common allergen culprits in the one and younger set, older children start to see peanut and wheat allergies. I had a baby with an egg allergy, as well as a toddler with a peanut allergy, and while both of them outgrew these allergies, it was scary when it happened! Do your best to introduce all the ingredients in the cake and frosting prior to session day.
4) What kind of cake should I use for a cake smash?
I don’t provide the cake for cake smashes, but I am happy to pass along some tips and tricks for choosing a cake for your session!
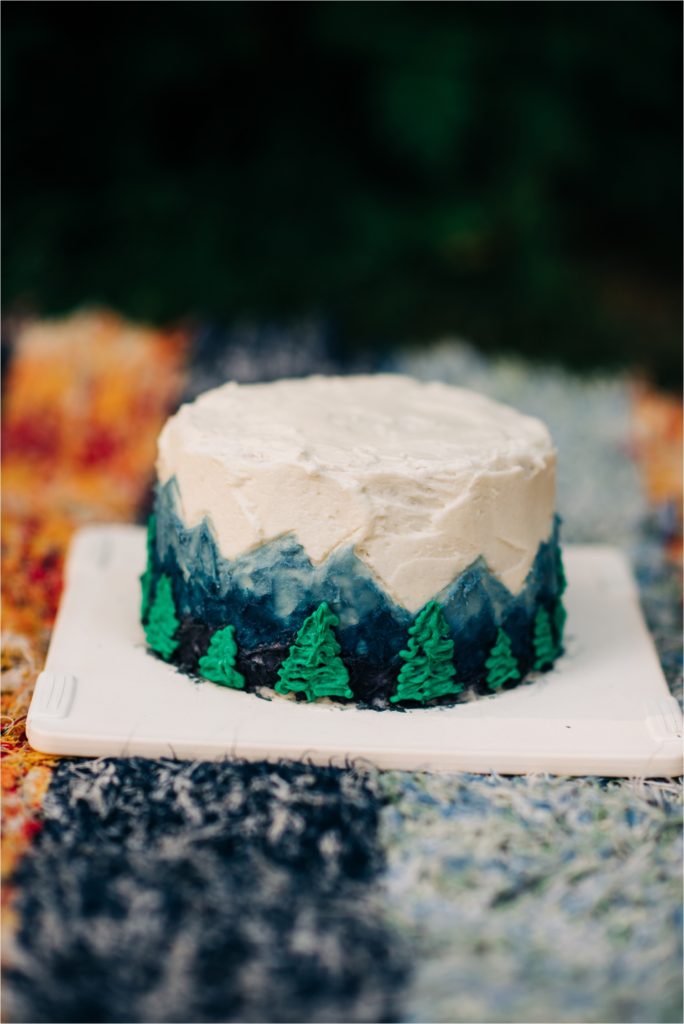
Choose a vanilla cake.
Avoid chocolate, red velvet, and any heavily dyed cakes/frosting. When taking close up photos, where the context of the cake is removed, chocolate and red velvet can look a bit like…bodily fluids. Heavily dyed cakes can stain the skin fairly quickly, and you may not want photos of your baby as a Smurf!
Choose a soft frosting.
If the frosting is too firm, it can be hard for the baby to get any on their hands or break through to the cake. I suggest using a buttercream frosting or whipped cream frosting. And while it’s a bit more work, I’ve been eyeing this ermine frosting for my next cake baking adventure!
What size should the cake be?
A cake smash cake is typically 4-6″. But if you don’t have cake pans that small, feel free to bring an 8-9″ cake! If you’re planning to take leftovers home and have a larger cake, we can take photos with the cake, then cut a slice for smashing.
You are also welcome to use a cupcake! Cupcakes are great for babies who are unsure about the experience, as they can pick the entire thing up.
Make sure your cake and frosting are at room temperature.
If they’re cold, little hands won’t be able to rip and tear! If it’s summer and you’re worried about the frosting melting, or just want a bit easier time of traveling, feel free to bring the cake unfrosted, and we can quickly frost it before the session. This works great for whipped cream frosting!
Use simple decorations.
Avoid complicated decorations, both for ease of travel as well as choking hazards. Stick with a cake topper that can be removed once your baby starts digging into the cake!
Bring a cake stand.
One of the things that everyone seems to forget: where does the cake sit during the session? You’ll want to bring something for the cake to sit on, especially if we’re outside. It does help if it has legs (even short ones), to keep it above the fabric of whatever the baby is sitting on.
Examples of cake stands include:
- Fancy cake stand.
- Simple cake stand.
- Neutral cake stand.
- Wood slice cake platter.
- Modern cake stand.
What should I do if my child has allergies?
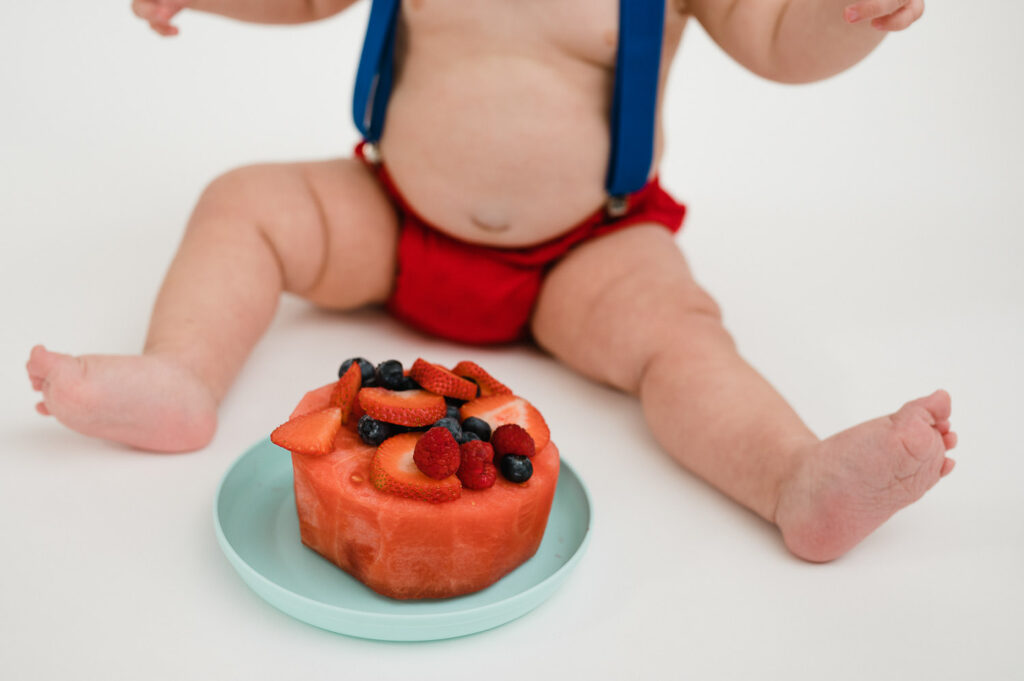
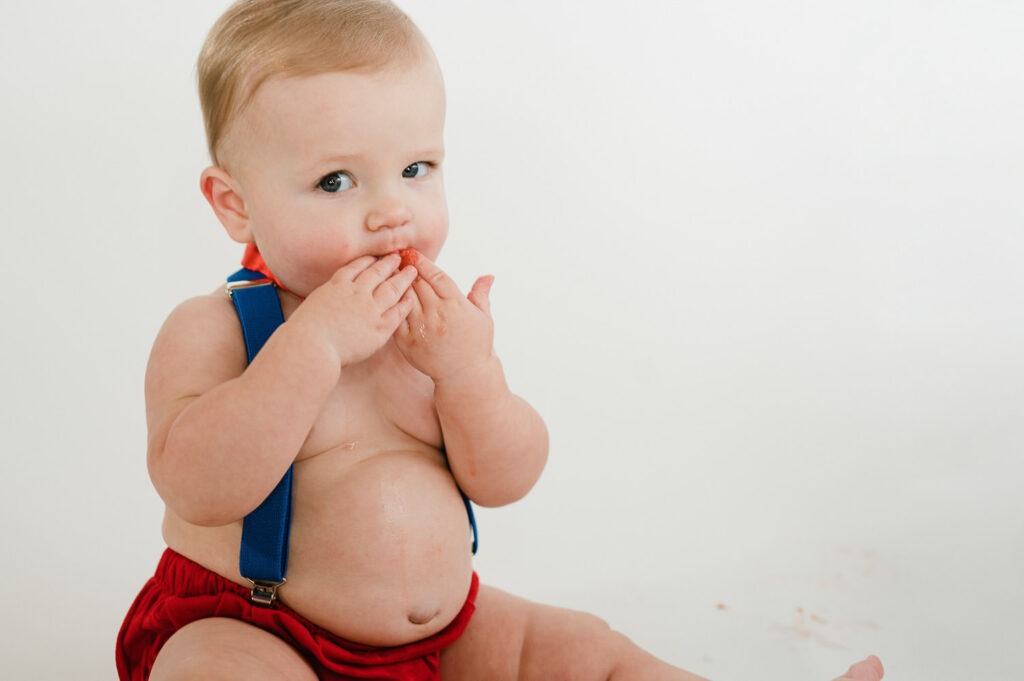
One of my very absolute favorite cake smash sessions was with a little boy who had a wheat allergy. His mom had the absolutely brilliant idea to do a “cake” smash with a pile of watermelon! Still messy, but was a food he was familiar with, so he was ALL in, and mom didn’t need to worry about the possibility of an allergic reaction.
Suggested cakes for a cake smash session.
Some examples of cake smash cakes are:
- Vanilla Oat Cake with Yogurt Frosting. This would be a great cake for a hesitant toddler, as the berries are perfect for the picking!
- Vanilla Smash Cake with Vanilla Frosting.
- Strawberry Smash Cake.

5) What do we need to bring with us for our session?
Plan on multiple outfits.
Consider bringing two outfits for your session if you are planning on both family photos and a cake smash. Even on a less than messy baby, frosting will get absolutely everywhere! Since it typically has a high fat content, it can be hard to get out of clothing and may leave grease spots.
You will want to make sure your baby has a going home outfit. Something comfortable, that is easy to get on and off for bathtime at home.
Bring clean up supplies.
For cleaning up during and after the session, you will want towels, water, wipes and a trash bag for trash. You may also want to consider a second trash bag or wet bag for dirty clothes.
Don’t forget the decorations!
At a minimum, you will want something for the baby to sit on, along with a cake stand.
If you decide to incorporate balloons, you will want to bring something to hold them down. Avoid balloons that have a “right way” (writing on one side, or the number 1), as it’s very unlikely they will cooperate!
Outdoors or indoors, bring something to sit on.
You will want something for baby and cake to sit on during the session, both for indoor and outdoor sessions. My suggestion is a large outdoor rug, as they can be hosed off outside once the session is over! They’re also typically heavy enough that they won’t bend and wrinkle when sat on while on grass.
Avoid using bedsheets outside. They’ll blow in the wind and will wrinkle or sag in the middle once baby and the cake are placed on them.
Don’t forget, highchairs are always an option! I’ve seen beautiful sessions using a vintage, wooden, or modern highchair outdoors. But there are ways to make your everyday highchair look beautiful too, especially if we find a pretty spot in the park!
Consider bringing utensils and a small plate.
If you have a baby who is resistant to smashing, sometimes cutting a single piece and putting it on a plate will convince them to start eating.
Bring snacks and water!
You will want to bring some hearty snacks and water. Fruit, veggies, cheese, meats. Babies can get fussy after too much cake (as can I!) and having a high protein, low sugar snack post-cake does wonders for a cranky baby.
6) Simple Cake Smash Decoration Ideas
You don’t need a complicated setup! My favorite sessions tend to be the ones with minimal decor – less to blow around in the wind, more time to focus on the baby, their outfit, and the cake. At a minimum, you’ll want something to sit on, a cake and a cake stand.
My suggested decor for a simple cake smash would be:
- Rug. A 2’x5′ or 5’x7′ outdoor rug works wonderfully. Sturdy enough to be used outside, and can be hosed off when we’re done. Target has a great selection of outdoor rugs, as does Wayfair.
- Small sign or standalone decor. Balloons often get used for this, but they are really difficult to use outdoors, as even the slightest breeze can cause issues and distractions. Look for standalone decor that can stand by itself, like this wooden number one.
- Cake stand. Look for a stand that is at least a couple inches wider than your cake (6 inch cake needs an 8-9″ wide stand, for example).
- Highchair banner flag, such as this one.
7) Suggested Cheyenne Cake Bakeries
- Cake Works Bakery.
- Swirls and Pearls.
- Rachel Anne’s Cupcakery.
- The Bread Basket.
- Sweet Marie’s Bakeshop.
- The Sugar Mouse.
- Albertsons/King Soopers.
I hope all of this was helpful! If you’re looking for a cake smash session for your child, feel free to reach out to inquire about a session. You can find more information on my family sessions at this link.